First Time User Guide: Managing Your Workspace
As part of our latest update (Changelog - TopMod), we have made a number of changes to the way Managers manage their teams Workspace. A Workspace is a collection of your teams users and the Projects they can upload bug footage into.
This article provides a guide on how to use this Workspace Management area to perform two key interactions. Firstly, adding new users to your Workspace, and second, setting up Projects for your users to upload to.
Adding Users To Your Workspace
1. Navigate to the Settings Page
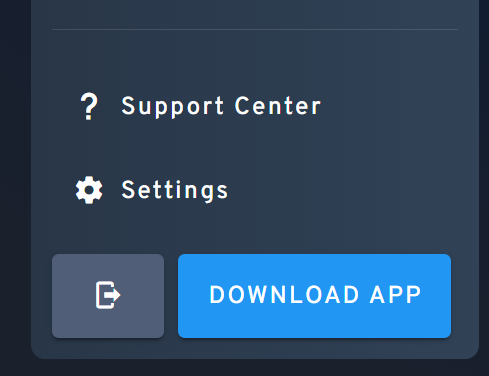
To start this process, login to the TopMod QA dashboard and navigate to your Settings page by either visiting http://app.topmodqa.com/settings or by clicking on the Settings icon in the sidebar navigation.
2. Select Workspace Management
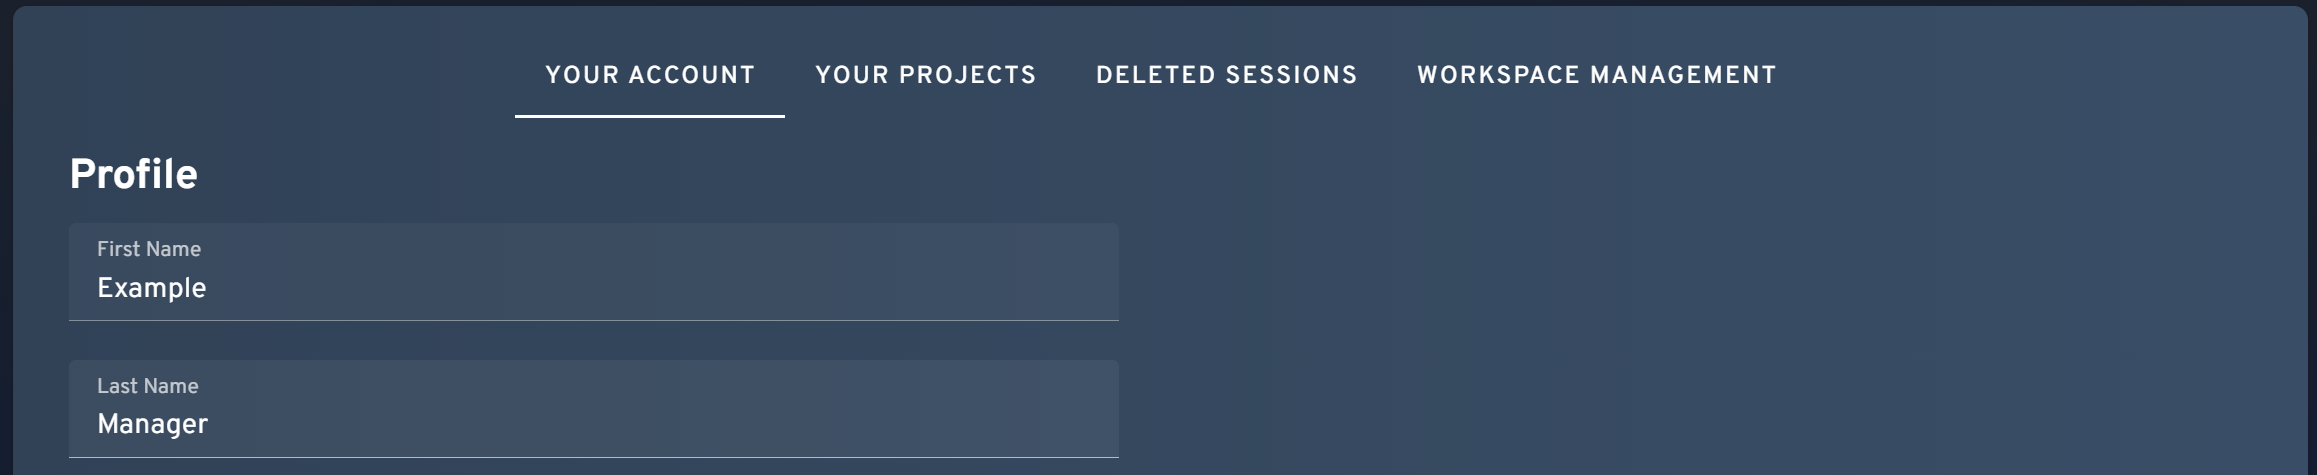
With the Settings page opened, navigate to the "Workspace Management" tab. Please note, if you do not see the Workspace Management tab then you may not have the required permissions as this section is only available to Managers & Admins.
3. Click "Add Users" Button
Once the Workspace Management tab has been selected, you should be presented with two tables. The first is the Workspace User Management table. In this section, you'll find a blue "Add Users" button. Clicking this will open a modal that allows you to add new users to the Workspace.
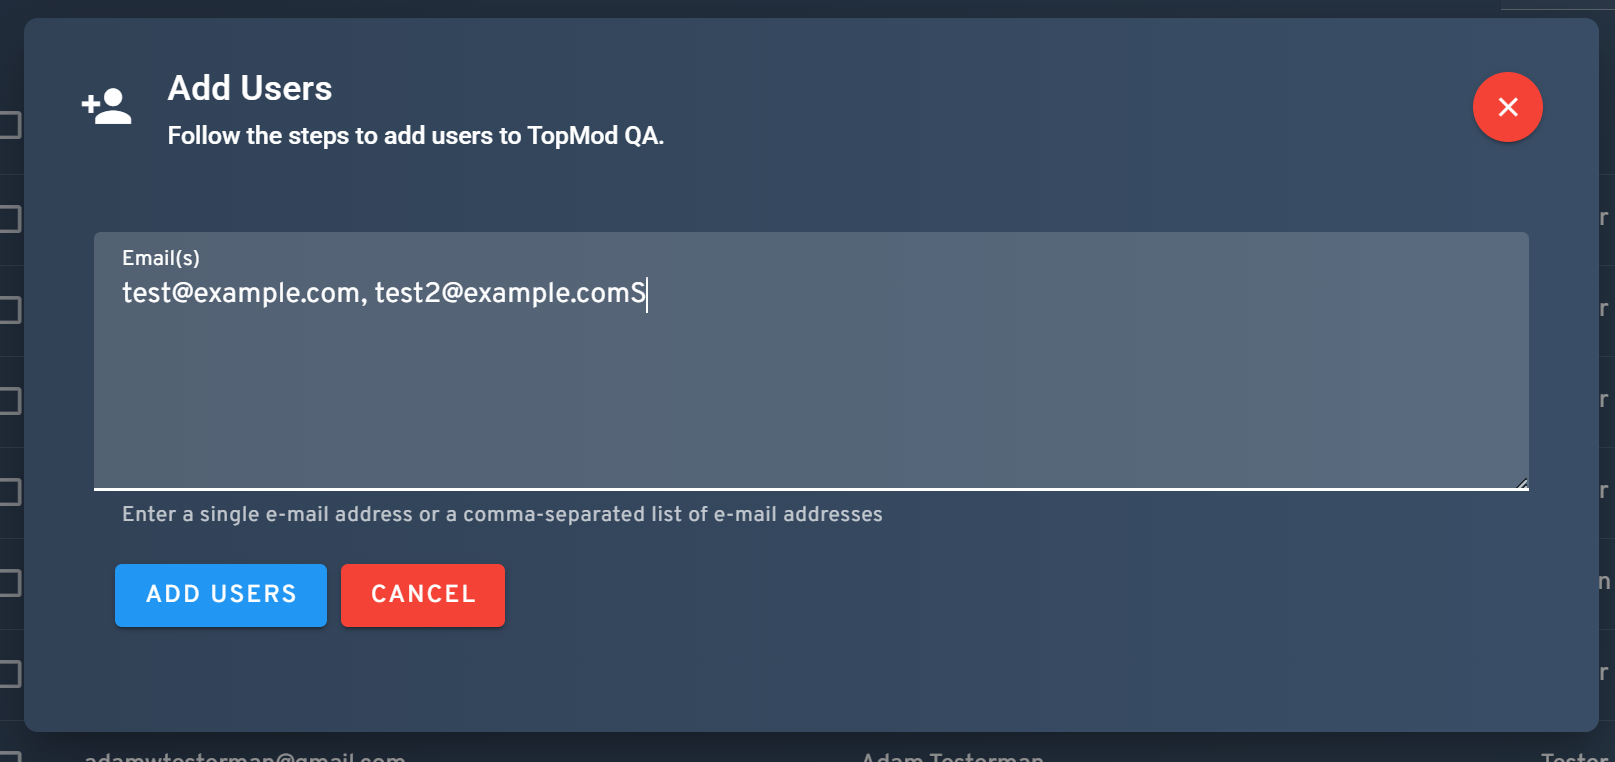
4. Enter Email Addresses for New Users
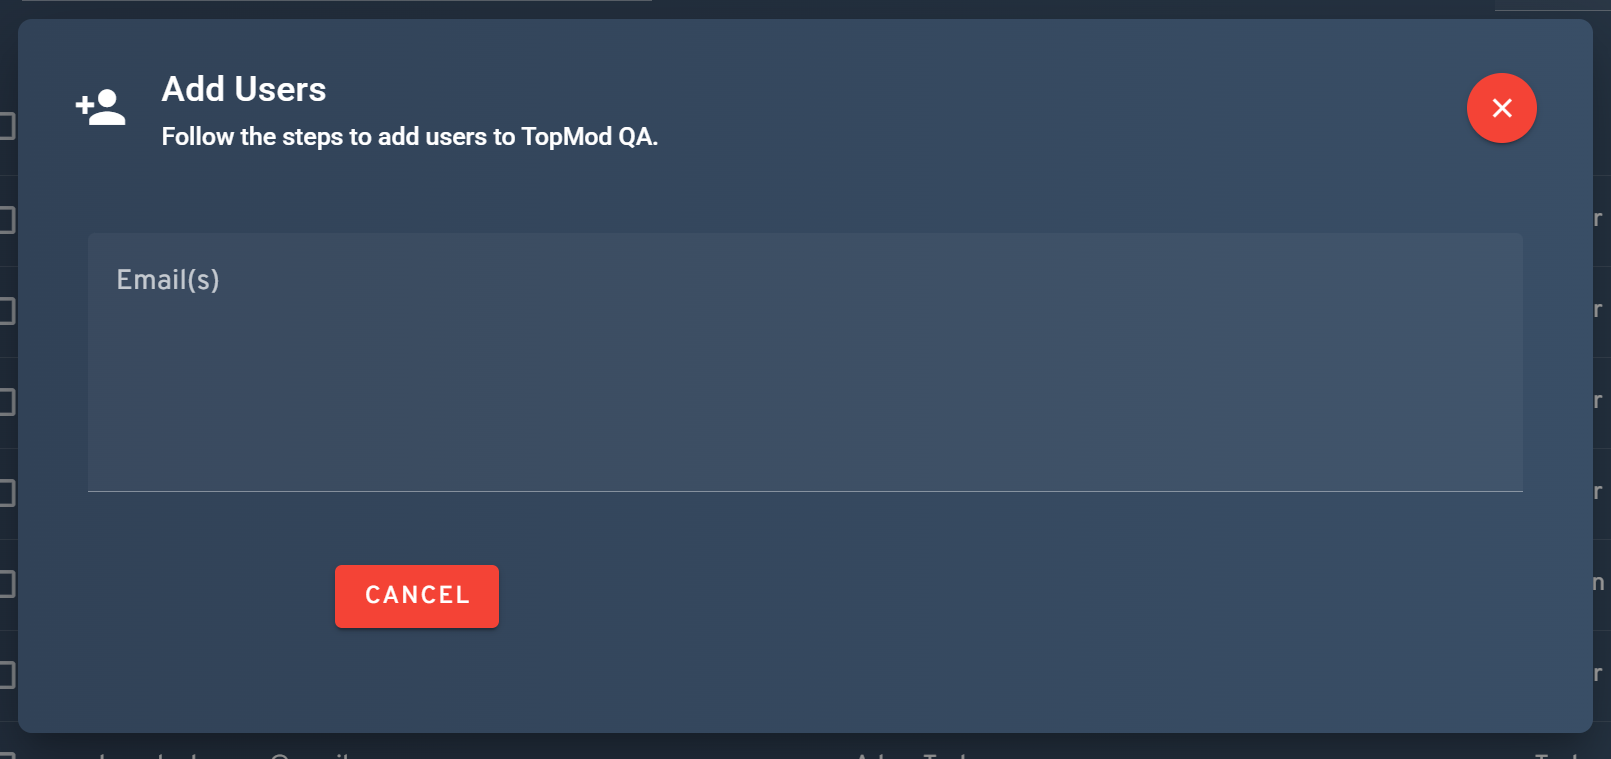
From here, enter in the email addresses for all users you'd like to add to this Workspace and click "Add Users" to confirm. Upon clicking "Add Users", all new TopMod QA users will be sent an invite email and be prompted to create a TopMod QA account.
Please note, to enter more than one user at a time, add a comma between email addresses.
Creating Your First Project
1. Navigate to the Settings page
To start this process, login to the TopMod QA dashboard and navigate to your Settings page by either visiting http://app.topmodqa.com/settings or by clicking on the Settings icon in the sidebar navigation.
2. Select Workspace Management
With the Settings page opened, navigate to the "Workspace Management" tab. Please note, if you do not see the Workspace Management tab then you may not have the required permissions as this section is only available to Managers & Admins.
3. Open "Create Project" Wizard
Within the Workspace Management tab, you'll find two key sections, User Management & Project Management. To create a Project, scroll to the Project Management section and click the "Create Project" button on the far right of the section.

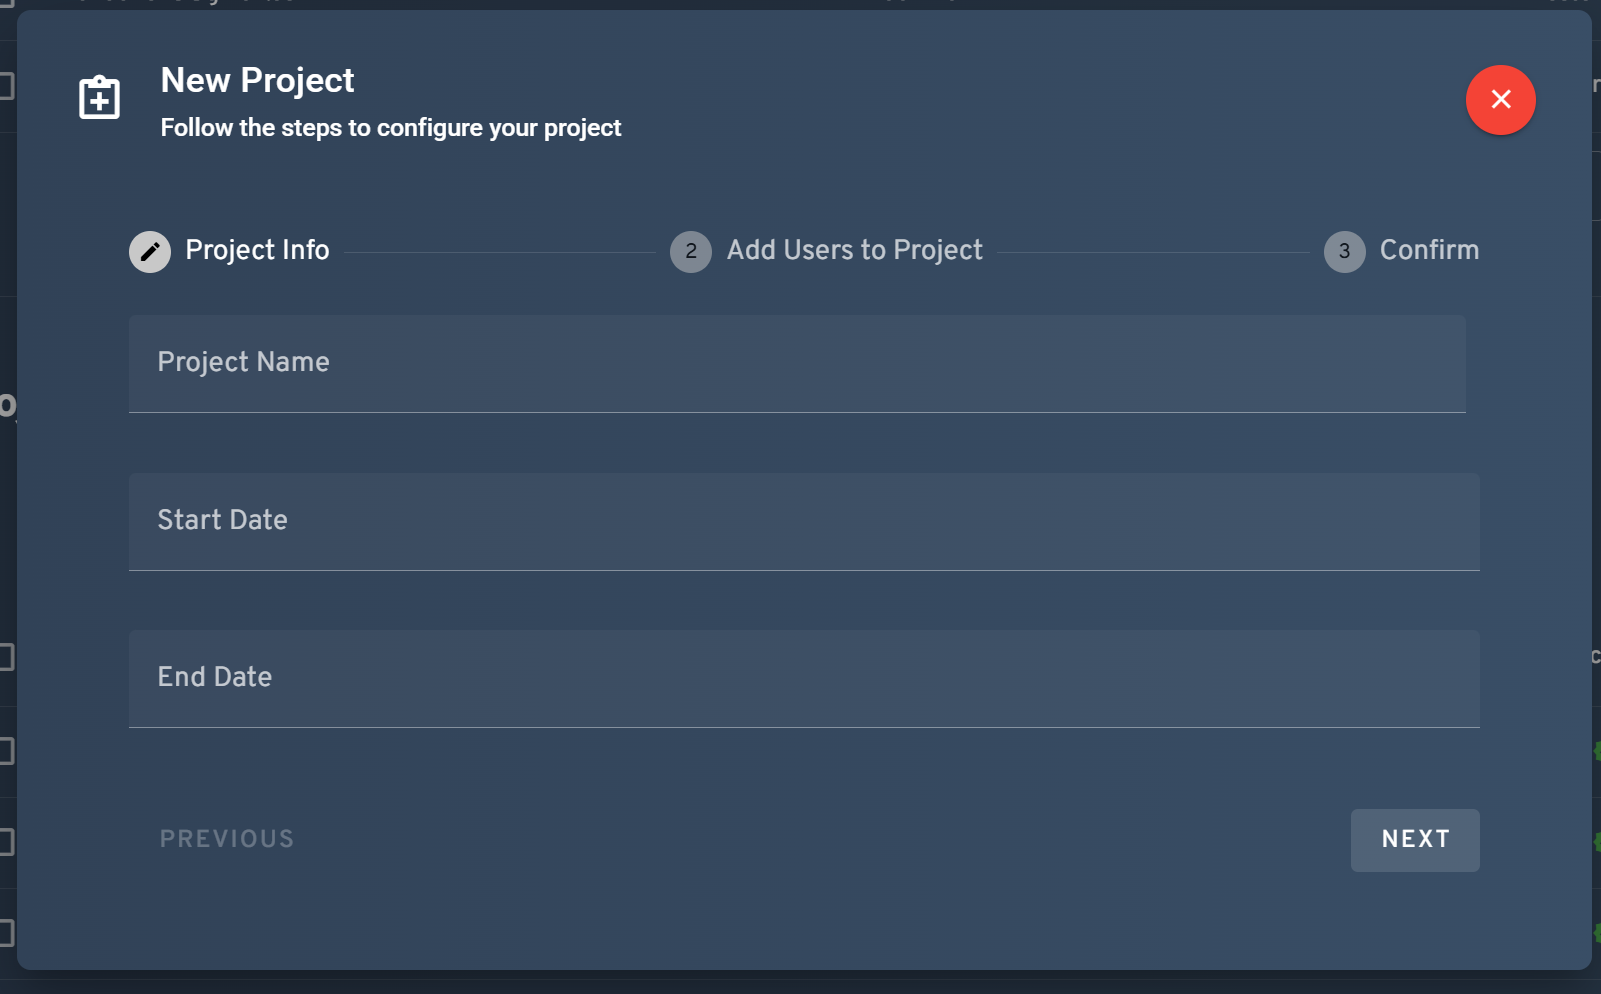
4. Add Project Details
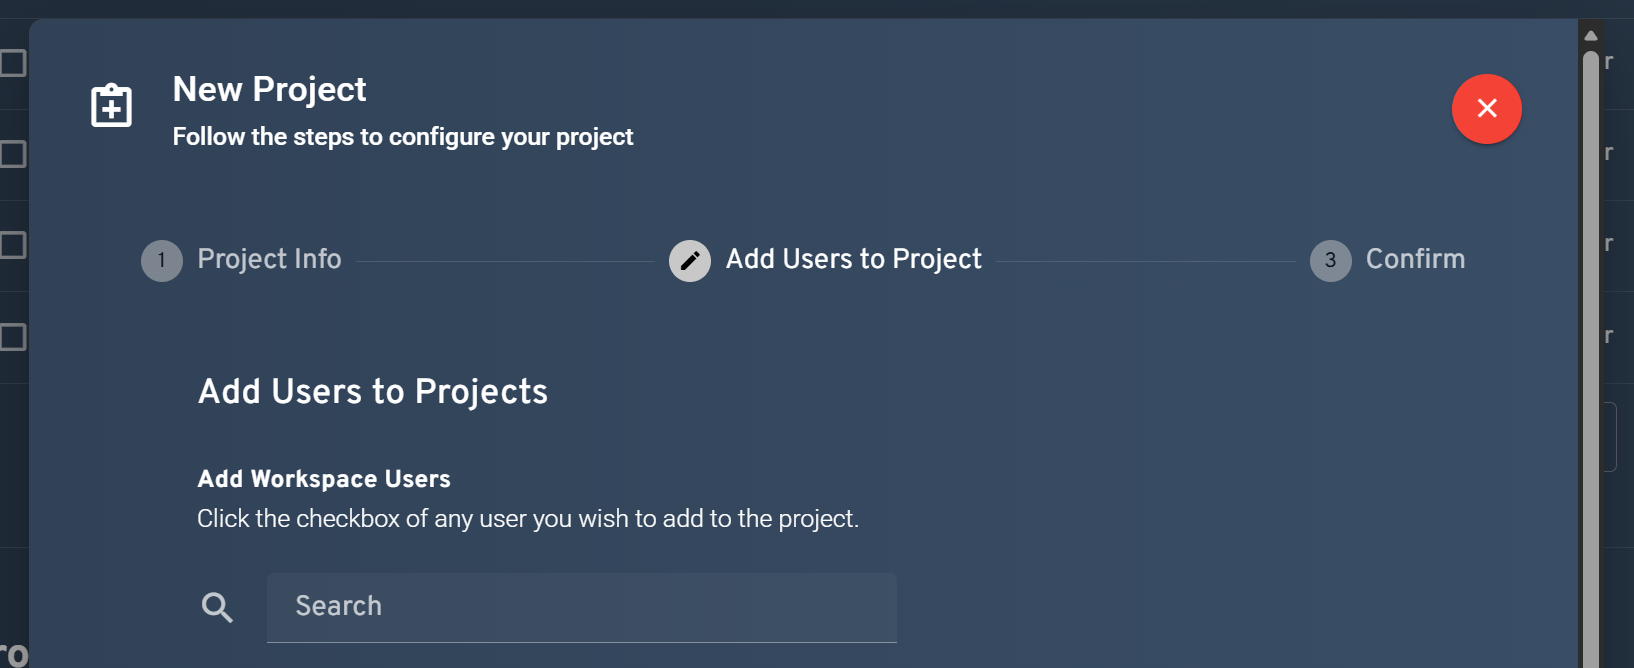
5. Add Users to Project
After inputting your new Projects details, clicking the "Next" button will take you to the "Add Users to Project" stage. In this area, you'll be presented with all of your Workspace's users to select from. Click on as many of the Users select boxes as required and then click the next button to proceed to the final stage of the wizard.
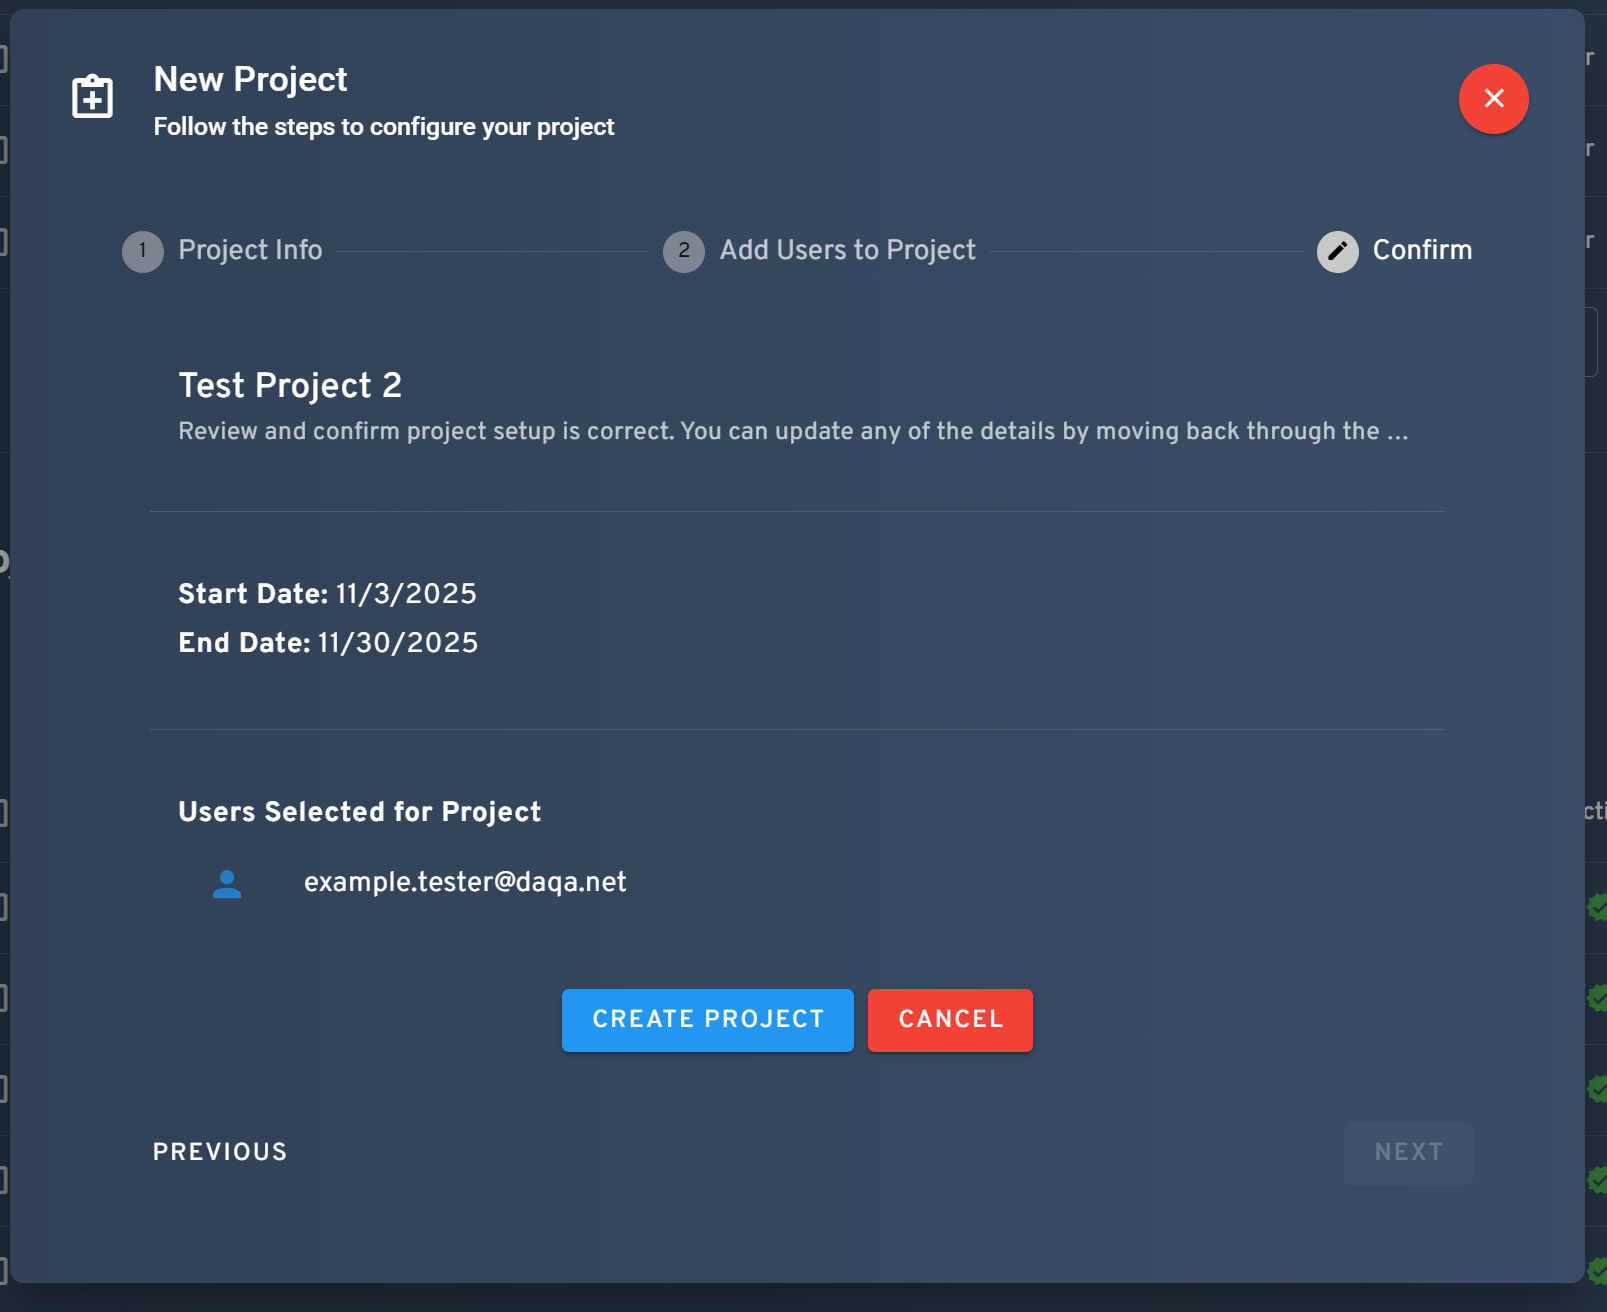
6. Confirmation
After adding specific users to your Project, you'll be presented with a summary of the new Project being presented. If everything looks correct, click the "Create Project" button to complete the wizard and add the Project to your Workspace.